 Skip to content
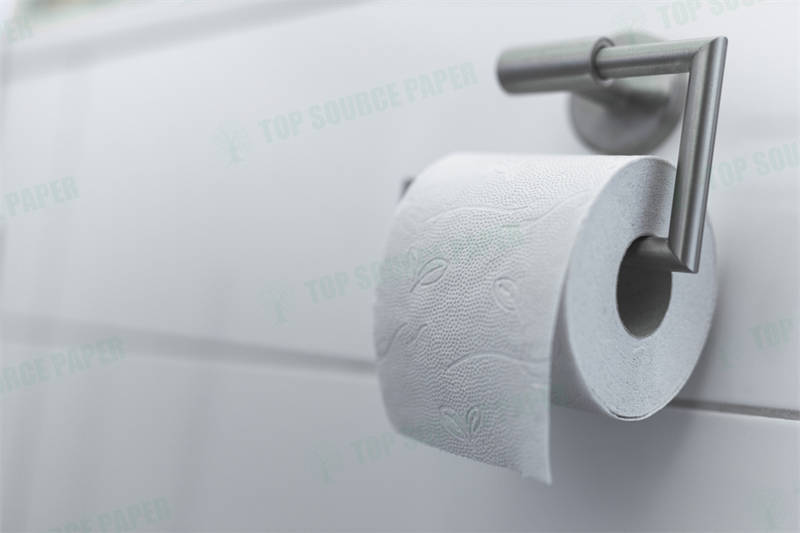
Struggling with an outdated or wobbly toilet paper holder? You’re not alone. Many DIY enthusiasts face the same challenge when renovating bathrooms or simply wanting to upgrade fixtures. The good news? Removing a toilet paper holder is often simpler than it looks—if you know the right techniques.
This guide will walk you through the step-by-step process for removing different types of holders safely, whether you’re dealing with traditional, recessed, or ceramic models. We’ll cover essential tools, troubleshooting stripped screws, and protecting your walls from damage—so you can tackle this project with confidence and avoid common pitfalls.
Identifying Your Toilet Paper Holder Type
Knowing your toilet paper holder type is the first step to a hassle-free removal process, whether you’re upgrading or just doing some bathroom maintenance.
When it comes to toilet paper holder removal, the first thing you need to do is identify what type of holder you’re dealing with. Different holders have different mechanisms, and using the wrong approach can lead to damage or frustration. Let’s break down the most common types and how to recognize them.
Traditional Spring-Loaded Holders: Identifying Features and Common Issues
These are the most common types of toilet paper holders. They have a spring inside the rod that keeps tension on the roll. You’ll usually see a small button or indentation near one end. Pressing this releases the tension, allowing the rod to come out. Common issues include rusted springs or stuck rods—sometimes a little WD-40 does the trick.
Pivoting Arm Holders: How They Differ and Specific Removal Challenges
Pivoting arm holders have a hinge mechanism that lets the holder swing open. Look for a small screw or latch near the hinge. These can be tricky because the screws are often hidden or painted over. A gentle pry with a flathead screwdriver might be needed to access them.
Recessed Holders: Recognizing Hidden Fasteners and Mounting Methods
Recessed holders are built into the wall, giving a sleek look but making remove a toilet paper holder a bit more involved. They usually have hidden screws behind the faceplate. You might need to gently pop off the cover with a knife or screwdriver to find them.
Ceramic Holders: Special Considerations to Avoid Cracking or Chipping
Ceramic holders are elegant but fragile. If you’re removing a ceramic toilet paper holder without damage, avoid using metal tools directly on the ceramic. Wrap a cloth around the holder before applying any pressure, and work slowly to prevent cracks.
Toilet Paper Holder Types and Removal Tips
| Holder Type | Key Features | Removal Method | Common Issues | Tool Recommendations |
|---|---|---|---|---|
| Spring-Loaded | Button or indentation on one end | Press button, slide rod out | Rusted springs, stuck rod | WD-40, rubber mallet |
| Pivoting Arm | Hinge mechanism, often hidden screws | Unscrew hinge, lift arm | Painted-over screws | Flathead screwdriver, painter’s tape |
| Recessed | Flush with wall, hidden faceplate | Remove cover, unscrew | Stuck faceplate | Plastic pry tool, utility knife |
| Ceramic | Decorative, fragile material | Gentle prying, cloth protection | Cracking, chipping | Soft cloth, plastic scraper |
| Magnetic | No visible screws, smooth surface | Twist and pull | Strong adhesive residue | Heat gun (low setting), goo gone |
Once you’ve identified your holder type and successfully removed it, you might consider upgrading to a more modern or eco-friendly option. Many newer models are designed for easier installation and removal, saving you “a ton of hassle” down the road.
Remember, if you’re unsure about how to identify my toilet paper holder type, take a close look at how it’s mounted and whether it has any visible screws or release mechanisms. When in doubt, go slow and gentle—better to take an extra minute than to damage your wall or holder.
Gathering Essential Tools and Materials for Safe Removal
Having the right tools before starting your toilet paper holder removal project can save time, prevent damage, and make the whole process smoother.
Before removing toilet paper holder fixtures, it’s crucial to gather all necessary equipment. Being prepared with proper tools for toilet paper holder removal will help avoid mid-project trips to the hardware store and protect your walls from unnecessary damage.
Screwdriver Sets: Choosing the Right Size and Type (Phillips, Flathead, Allen)
The best screwdriver for removing toilet paper holder screws depends on your fixture. Most holders use Phillips or flathead screws, while some modern designs require Allen wrenches. A multi-bit screwdriver with magnetic tips works best for keeping small screws from getting lost during removal.
Pliers and Putty Knives: How to Use Them to Protect Walls
Needle-nose pliers help remove stubborn screws, while a putty knife serves multiple purposes. Learning how to use a putty knife to remove a toilet paper holder properly can prevent wall damage – slide it behind the fixture to break paint seals before unscrewing.
Screw Extractors: When and How to Use Them for Stripped Screws
For stripped screws that won’t budge, a screw extractor set can be a lifesaver. These reverse-threaded bits grip damaged screw heads when standard methods fail, saving you from having to drill out the entire fixture.
Safety Gear: The Importance of Gloves and Eye Protection
Don’t overlook safety when doing DIY bathroom repair tools work. Gloves protect against sharp edges, while safety glasses prevent dust or debris from falling into your eyes during removal.
Essential Toilet Paper Holder Removal Toolkit
| Tool | Purpose | Special Features | Alternative Options | Safety Notes |
|---|---|---|---|---|
| Multi-bit Screwdriver | Removes various screw types | Magnetic tip prevents lost screws | Individual screwdrivers | Watch for slipping |
| Needle-Nose Pliers | Grips stripped screws | Long reach for tight spaces | Vise-Grip pliers | Wear gloves |
| Putty Knife | Protects wall surface | Thin blade slides behind fixture | Plastic spackle knife | Go slow to avoid gouging |
| Screw Extractor Set | Removes damaged screws | Reverse-thread design | Rubber band method | Requires careful alignment |
| Safety Glasses | Eye protection | Clear anti-fog lenses | Regular glasses | Essential for overhead work |
With these tools gathered beforehand, you’ll be ready to tackle any toilet paper holder removal job efficiently. Remember that investing in quality tools pays off – they’ll last for future projects and make the work much easier. For those considering an upgrade after removal, many modern holders feature tool-free installation systems that eliminate these hassles for next time.
How to Remove a Toilet Paper Holder: Step-by-Step
“Removing a toilet paper holder properly requires patience and the right technique to avoid wall damage and ensure a clean removal process.”
Learning how to remove a toilet paper holder correctly can save you from unnecessary wall repairs and frustration. Whether you’re renovating or replacing, these toilet paper holder removal steps will guide you through the process safely.
Step 1: Locating and Loosening Set Screws or Fasteners
Most holders have visible screws either on the ends or underneath decorative caps. Use the appropriate screwdriver to loosen them. For hidden screws, gently feel around the holder’s edges or look for small access holes.
Step 2: Gently Prying the Holder Away from the Wall
Once screws are removed, slide a putty knife behind the fixture to break any paint or caulk seals. Work slowly around all sides to remove a toilet paper holder safely without damaging the wall surface.
Step 3: Addressing Hidden Screws and Wall Anchors
If the holder won’t budge, check for additional fasteners. Some models have hidden anchors that require careful extraction. For stubborn anchors, use needle-nose pliers to twist them out.
Step 4: Cleaning the Area and Preparing for Repairs
After removal, clean any adhesive residue and fill screw holes with spackle. This step by step guide for removing a toilet paper holder from the wall ensures your bathroom walls stay in perfect condition for whatever comes next.
Toilet Paper Holder Removal Checklist
| Step | Tools Needed | Time Estimate | Difficulty Level | Potential Challenges |
|---|---|---|---|---|
| Locate Screws | Flashlight, screwdriver | 2-5 minutes | Easy | Hidden or painted-over screws |
| Loosen Fasteners | Screwdriver set | 3-7 minutes | Medium | Stripped screw heads |
| Pry Holder | Putty knife, pliers | 5-10 minutes | Medium | Strong adhesive bonds |
| Remove Anchors | Needle-nose pliers | 2-8 minutes | Hard | Broken anchors in wall |
| Clean Area | Spackle, sandpaper | 5-15 minutes | Easy | Large holes or damage |
Remember that how to remove a toilet paper holder without causing damage depends largely on taking your time and using the right tools. Once removed, consider upgrading to a more modern or eco-friendly model that might offer easier installation and removal in the future.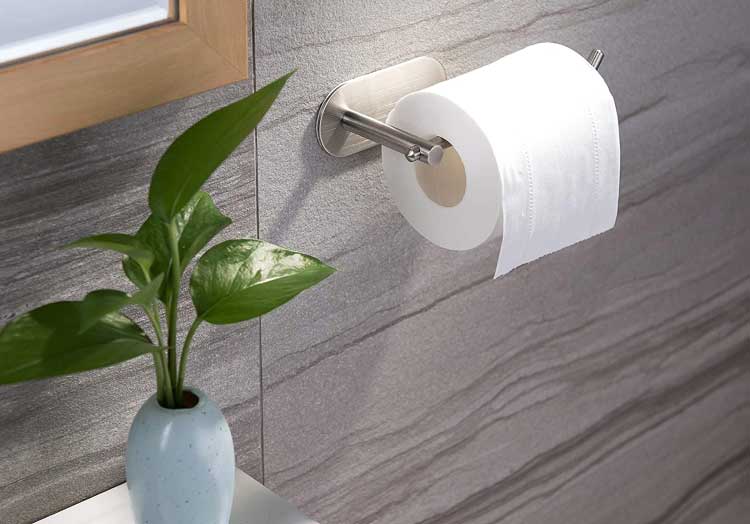
Troubleshooting Common Issues: Stripped Screws, Rust, and Stubborn Anchors
“Even the most straightforward toilet paper holder removal can hit snags – these proven techniques will help you overcome common obstacles without damaging your walls.”
When removing toilet paper holder fixtures, you might encounter stubborn problems that require special techniques. Knowing how to handle these issues can mean the difference between a smooth removal and a frustrating experience.
Dealing with Stripped Set Screws: Rubber Band and Screw Extractor Techniques
For how to remove a toilet paper holder set screw that is stripped, place a thick rubber band over the screw head before applying your screwdriver. The rubber fills the gaps, providing grip. For severely stripped screws, use a screw extractor bit that bites into the metal as you turn counterclockwise.
Removing Rusted Screws: Penetrating Oil and Heat Application
The best way to remove a rusted toilet paper holder from the wall involves patience and the right products. Apply penetrating oil (like WD-40) and let it soak for 15 minutes. For stubborn cases, carefully heat the screw with a hairdryer to expand the metal before attempting removal.
Extracting Stubborn Wall Anchors: Using Pliers and Leverage
When anchors won’t budge, grip them firmly with needle-nose pliers and twist while pulling gently. If they break off flush with the wall, use a small drill bit to create a pilot hole, then insert a screw slightly to pull the anchor out.
Preventing Future Issues: Tips for Protecting New Installations
Consider using stainless steel screws for new installations to prevent rust. Apply a small amount of petroleum jelly to screw threads to make future removal easier while preventing corrosion.
Common Toilet Paper Holder Removal Problems and Solutions
| Problem | Tools Needed | Solution | Time Required | Prevention Tip |
|---|---|---|---|---|
| Stripped Screws | Rubber band, screw extractor | Use rubber for grip or extractor bit | 5-15 minutes | Use quality screwdrivers |
| Rusted Fasteners | Penetrating oil, heat source | Soak with oil, apply heat | 20-30 minutes | Use stainless steel hardware |
| Stuck Anchors | Pliers, small drill | Twist out or drill carefully | 10-20 minutes | Install anchors properly |
| Painted-Over Screws | Utility knife, screwdriver | Score around screw head | 5-10 minutes | Mask before painting |
| Broken Hardware | Drill, pliers | Drill out remnants | 15-30 minutes | Don’t force during install |
Remember that most stripped screws toilet paper holder issues can be resolved without damaging your walls. For particularly difficult remove a rusted toilet paper holder situations, sometimes it’s best to work slowly over multiple applications of penetrating oil rather than forcing the issue.
Repairing Wall Damage and Considering Eco-Friendly Replacements
“Proper wall repair and sustainable replacement choices can transform your bathroom while minimizing environmental impact.”
After completing your toilet paper holder removal, you’ll likely need to address any resulting wall repair after toilet paper holder removal. This guide covers both repair techniques and sustainable upgrade options.
Filling Holes and Cracks: Using Spackle or Joint Compound
For how to repair wall damage after removing a toilet paper holder, start by cleaning the area. Apply spackle with a putty knife, slightly overfilling holes to account for shrinkage. For larger damage, use joint compound and fiberglass mesh tape.
Sanding and Painting: Achieving a Seamless Finish
Once dry, sand the repaired area smooth with 120-grit sandpaper. Wipe away dust, then apply primer before painting. Match your existing paint for best results – take a chip to your hardware store for color matching.
Eco-Friendly Toilet Paper Holders: Materials and Benefits
Consider eco-friendly toilet paper holders made from bamboo, recycled metal, or sustainably sourced wood. These best eco-friendly toilet paper holder options for bathrooms offer durability while reducing environmental impact.
Modern Design Trends: Options for Upgrading Your Bathroom Fixtures
Contemporary designs include minimalist floating holders, multi-functional units with storage, and touch-free models. Choose finishes that complement your bathroom’s style while considering maintenance requirements.
Eco-Friendly Toilet Paper Holder Comparison
| Material | Durability | Maintenance | Cost | Environmental Benefit |
|---|---|---|---|---|
| Bamboo | High | Low | $$ | Fast-growing, renewable |
| Recycled Aluminum | Very High | None | $$$ | Reduces mining impact |
| Sustainable Wood | Medium | Regular oiling | $$$ | FSC-certified sources |
| Recycled Plastic | High | None | $ | Diverts waste from landfills |
| Ceramic | Very High | None | $$ | Long lifespan, natural materials |
When selecting new fixtures, consider both aesthetics and functionality. Many modern eco-friendly toilet paper holders combine sleek design with practical features like integrated spare roll storage or easy-change mechanisms.
Conclusion
After years in the household paper industry, I’ve seen how a simple toilet paper holder removal can turn into a “head-scratcher” if you’re not prepared. But with the right tools and techniques—whether you’re dealing with stubborn screws, rusted fixtures, or fragile ceramic holders—it’s a DIY project anyone can tackle.
The key? Patience and the right approach. From identifying your holder type to repairing wall damage, each step matters. And if you’re upgrading, consider eco-friendly options—they’re not just better for the planet, but often easier to install and maintain long-term. Now that you’ve removed the old fixture, you might be planning a new setup for a commercial space. Choosing the right commercial toilet rolls and dispensers is key to efficiency and cost savings.
At the end of the day, a smooth removal means one less hassle in your bathroom upgrade. Now that you’ve got the know-how, it’s time to grab your tools and get to work!
FAQ
Q1: How do I remove a toilet paper holder from the wall?
A1: Begin by removing the toilet paper roll and rod to expose the mounting screws. Use the appropriate screwdriver or Allen wrench to loosen the screws, then gently pull the holder away from the wall.
Q2: What tools do I need to remove a toilet paper holder?
A2: Typically, you will need a screwdriver (Phillips or flathead) or an Allen wrench. In some cases, an electric drill or pliers may be useful if screws are tight or stripped.
Q3: How can I remove a recessed toilet paper holder without damaging the wall?
A3: For recessed holders, carefully locate and remove hidden screws. Support the holder as you unscrew it and use gentle prying techniques to prevent wall damage.
Q4: What should I do if the set screw on my toilet paper holder is stripped?
A4: Try placing a rubber band over the stripped screw for extra grip while using a screwdriver. Alternatively, use pliers or a screw extractor tool to remove the screw safely.
Q5: Can I remove a toilet paper holder without using any tools?
A5: Some models may allow removal by hand if they feature a simple design, but most are secured with screws that require at least a basic screwdriver or Allen wrench.
Q6: Why would I need to remove a toilet paper holder?
A6: Removal may be necessary for cleaning behind the unit, replacing it with a new model, repairing the mounting surface, or updating your bathroom decor.
Q7: How do I ensure safety when removing a toilet paper holder?
A7: Ensure you use the correct tools, work slowly to avoid damaging the wall, and wear protective gloves. Double-check that there are no electrical hazards nearby before starting.
Q8: Is there a risk of damaging the wall during removal?
A8: Yes, if removal is done forcefully or without proper tools, there is a risk of damaging the wall. Follow step-by-step instructions and use gentle techniques to minimize any damage.
External Links
- U.S. Department of Housing and Urban Development – Homepage
- Federal Trade Commission – Consumer Information
- University of Minnesota Extension
- Ohio State University Extension
- U.S. Consumer Product Safety Commission
- National Association of Home Builders
- U.S. Department of Energy – Energy Saver
- Harvard Business Review
