Eliminar un soporte de papel higiénico puede parecer una tarea simple, pero puede volverse frustrante si no sabe por dónde empezar. Ya sea que esté actualizando a un nuevo titular o arreglando uno suelto, comprender las técnicas correctas es esencial para evitar dañar la pared de su baño o el titular en sí. Esta guía lo guiará a través de métodos paso a paso para eliminar diferentes tipos de soportes de papel higiénico, incluidos adhesivos, atornillados, tornillos ocultos y soportes cargados de resorte. También aprenderá cómo manejar desafíos comunes como el daño de los paneles de yeso y cómo prevenir futuras complicaciones. Antes de sumergirse en el proceso de eliminación, es importante identificar el tipo de soporte que tiene. Esto lo ayudará a elegir las herramientas y técnicas adecuadas. Con el enfoque correcto, puede eliminar de manera segura su papel higiénico Soporte sin dañar su baño.
¿Por qué debería quitarle el soporte de papel higiénico?
Portavasos a menudo se pasan por alto hasta que se vuelven sueltos, anticuados o difíciles de usar. Desde la actualización de la decoración de su baño hasta reparar un titular de mal funcionamiento, hay varias razones para eliminar un papel higiénico titular. Ya sea que esté planeando una renovación completa del baño o simplemente desea arreglar un soporte tambaleante, comprender el proceso de eliminación garantiza una actualización sin problemas. Las razones más comunes incluyen reemplazar a los titulares dañados, actualizar a un diseño más moderno o reubicar al titular para una mejor accesibilidad.
Actualizando tu papel higiénico El soporte puede mejorar tanto la funcionalidad como la estética al tiempo que evita el daño de la pared a través de técnicas de eliminación adecuadas.
Actualizando tu papel higiénico El soporte puede mejorar tanto la funcionalidad como la estética al tiempo que evita el daño de la pared a través de técnicas de eliminación adecuadas.
Aquí hay algunas razones clave para considerar eliminar su papel higiénico titular:
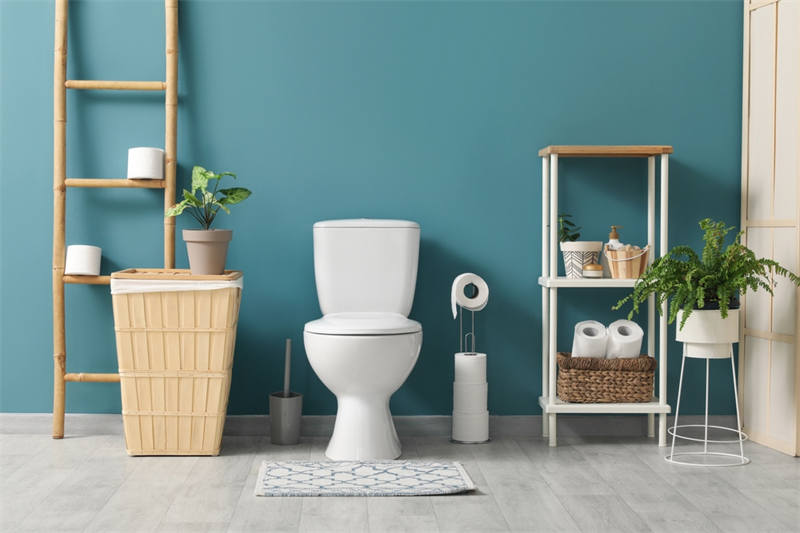
- Modernización de su baño: Si su baño debe actualizar, intercambiar un obsoleto papel higiénico El soporte para un diseño elegante y moderno puede marcar una diferencia significativa en la estética general. Considere opciones como -s-modelos montados en la pared o titulares empotrados para una apariencia más limpia.
- Reparación o reemplazo de unidades dañadas: Un soporte suelto o roto puede ser frustrante y antihigiénico. Eliminarlo le permite inspeccionar cualquier daño a la pared o al soporte en sí, asegurando un reemplazo resistente y seguro.
- Prevenir el daño de la pared: Las técnicas de extracción incorrectas pueden conducir a tornillos tirados, pintura astillada o incluso paneles de yeso. Al comprender las mejores prácticas para la eliminación, puede proteger las paredes de su baño de daños innecesarios.
- Mejora de la accesibilidad: Si el titular actual se coloca torpemente o demasiado alto/bajo para la comodidad, eliminarlo brinda la oportunidad de instalar uno que se adapte mejor a sus necesidades o a las de los miembros del hogar.
Antes de sumergirse en el proceso de eliminación, es importante evaluar el tipo de soporte que tiene. Algunos titulares son fáciles de eliminar, mientras que otros pueden requerir herramientas o técnicas específicas. En la siguiente sección, exploraremos los diferentes tipos de papel higiénico Titulares y cómo identificar con cuál está trabajando. Por ahora, recuerde que tomarse el tiempo para eliminar a su titular correctamente puede ahorrarle tiempo, dinero y frustración a largo plazo.
¿Cuáles son los diferentes tipos de soportes de papel higiénico?
Papel higiénico Los titulares vienen en varios diseños, cada uno que requiere un enfoque de eliminación específico. Comprender el tipo de titular es crucial para elegir el método y las herramientas de eliminación correctas. Los tipos comunes incluyen soportes adhesivos que se adhieren a la pared, soportes atornillados con hardware de montaje visible, modelos de tornillos ocultos para un aspecto más limpio y versiones cargadas de resorte con abrazaderas posteriores. Cada tipo requiere diferentes herramientas y técnicas para la eliminación segura.
Los diferentes tipos de titulares requieren técnicas de eliminación específicas, y algunos son más fáciles de eliminar que otros. La identificación adecuada garantiza la extracción exitosa sin daños en la pared.
Aquí hay un desglose de los tipos más comunes y sus métodos de eliminación:
- Titulares de adhesivos: Estos se mantienen en su lugar por fuertes adhesivos o tazas de succión. Para eliminarlos, aplique calor con un secador de pelo o use un removedor adhesivo para disolver el enlace. Una vez aflojado, salga suavemente del soporte de la pared para evitar dejar residuos o causar daños.
- Soportes atornillados: Estos están asegurados con tornillos visibles. Comience desanimando los sujetadores visibles con un destornillador. Si los tornillos están atascados, aplique una pequeña cantidad de aceite penetrante. Una vez retirado, levante cuidadosamente el soporte de la pared. Tenga cuidado con cualquier adhesivo o residuo restante que sea necesario rasparse.
- Modelos de tornillo oculto: Estos soportes tienen tornillos ocultos detrás de cubiertas decorativas o tapas. Para acceder a los tornillos, retire las tapas, lo que puede requerir una pequeña herramienta o un giro suave. Una vez visible, desenrosque los sujetadores y levante el soporte de la pared. Este tipo es complicado porque el mecanismo oculto puede dificultar la identificación del método de eliminación correcto.
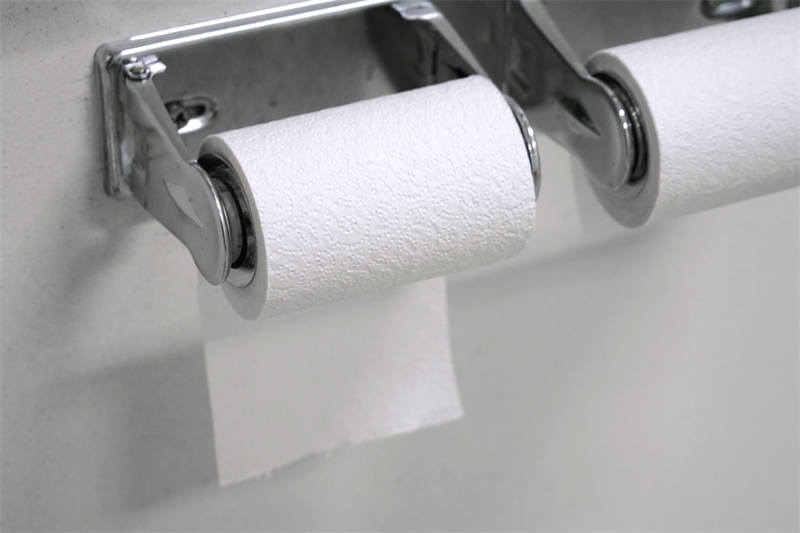
- Portes cargados de primavera: Estos soportes tienen un mecanismo de resorte que se sujeta a la pared. Busque una palanca o botón de liberación, que, cuando se presione, desconectará la abrazadera. Algunos modelos pueden requerir insertar una herramienta pequeña, como un destornillador de cabeza plana, en una hendidura para liberar el resorte. Después de desconectar el mecanismo, tire del soporte directamente de la pared.
| Tipo de soporte | Descripción | Herramientas de eliminación necesarias |
|---|---|---|
| Adhesivo | Sostenido por fuertes adhesivos o succión | Calentar pistola o removedor adhesivo |
| Roscado | Tornillos visibles | Destornillador, aceite penetrante |
| Tornillo escondido | Tornillos ocultos debajo de las tapas | Herramienta pequeña o destornillador |
| Cargado de resorte | Mecanismo de pinza, botón de liberación | Destornillador de cabeza plana o palanca de liberación |
Identificando tu papel higiénico El tipo de soporte es el primer paso hacia una eliminación exitosa. Cada diseño tiene sus peculiaridades, y el uso del enfoque incorrecto puede provocar daños innecesarios. Una vez que haya determinado su tipo de titular, reúna las herramientas apropiadas y tómese su tiempo para garantizar un proceso de eliminación suave y amigable para la pared. A medida que pase al siguiente capítulo, aprenderá técnicas específicas para eliminar de manera segura su soporte, ya sea adhesivo, jodido, tornillo oculto o cargado de resorte.

¿Cómo se quita con seguridad un soporte de papel higiénico?
La eliminación segura comienza con la preparación adecuada y las herramientas correctas. Siga un enfoque sistemático para eliminar su titular sin causar daños a las paredes o accesorios. Comience por identificar el mecanismo de montaje. Para los soportes adhesivos, use una pistola de calor o removedor adhesivo. Con portavoz atornillados, ubique y retire todos los sujetadores. Para los modelos de resorte, busque mecanismos de liberación. Siempre trabaje lenta y cuidadosamente para prevenir el daño de la pared.
Las técnicas de eliminación adecuadas evitan el daño de la pared y facilitan la instalación futura. La mayoría de los titulares se pueden quitar en menos de 30 minutos con el enfoque correcto.
Aquí hay un paso a paso Guía para eliminar su papel higiénico con seguridad titular:
- Paso 1: Recopilar herramientas y suministros: Dependiendo de su tipo de soporte, es posible que necesite un destornillador, una pistola de calor, un removedor de adhesivos o un destornillador de cabeza plana para modelos con resorte. Un pequeño cubo o contenedor puede ayudar a atrapar los escombros o residuos.
- Paso 2: Evaluar al titular: Examine cuidadosamente el mecanismo de montaje. Si no está seguro del tipo, consulte las instrucciones del fabricante o consulte el capítulo anterior para su identificación.
- Paso 3: Aplicar removedor de calor o adhesivo (si corresponde): Para los titulares de adhesivos, aplique el quema o removedor adhesivo para aflojar el enlace. Para los modelos de tornillo atornillados o ocultos, omita este paso y proceda a eliminar sujetadores.
- Paso 4: Retire los sujetadores: Para los soportes de tornillo atornillados o ocultos, retire todos los tornillos visibles o ocultos. Para modelos cargados de resorte, ubique y presione el mecanismo de liberación.
- Paso 5: Gentilmente Pry o tira: Una vez que se retiran los sujetadores o se desconectan el mecanismo, retire cuidadosamente el soporte de la pared. Trabaje lentamente para evitar aplicar demasiada fuerza, lo que podría dañar la pintura o los paneles de yeso.
- Paso 6: Limpiar: Retire cualquier adhesivo o residuo restante con un raspador o removedor adhesivo. Limpie el área con un paño húmedo para prepararse para una instalación futura.
| Paso | Acción | Herramientas necesarias |
|---|---|---|
| 1 | Recopilar herramientas y suministros | Destornillador, pistola de calor, removedor adhesivo, raspador |
| 2 | Evaluar al titular | Ninguno, solo inspección visual |
| 3 | Aplicar quema o removedor adhesivo | Calentar pistola o removedor adhesivo |
| 4 | Eliminar sujetadores | Destornillador o palanca de liberación |
| 5 | Suavemente pry o tirar | Ninguno o destornillador de cabeza plana |
| 6 | Limpiar | Removedor scraphilis y tela húmeda |
Siguiendo estos pasos, puede eliminar de forma segura su papel higiénico Soporte sin dañar sus paredes o accesorios. Recuerde, la paciencia es clave: tome su tiempo y no apresure el proceso. Con las herramientas y técnicas adecuadas, la mayoría de los titulares se pueden eliminar en menos de 30 minutos. Para obtener guías más detalladas y consejos adicionales, visite El manita de la familia.
Ahora que ha eliminado con éxito su antiguo soporte, está listo para instalar uno nuevo. Consulte el siguiente capítulo para obtener consejos sobre cómo seleccionar el reemplazo perfecto y garantizar una instalación segura.
Conclusiones
Eliminando un papel higiénico El titular no tiene que ser una tarea desafiante. Al identificar su tipo de titular y seguir el método de eliminación apropiado, puede completar con éxito este proyecto sin dañar las paredes de su baño. Recuerde tomarse su tiempo y usar las herramientas adecuadas para obtener los mejores resultados.
